Minimum SharePoint site permissions: Edit (preferably Owners group)
Minimum SharePoint license: Microsoft Power Automate Free
Add the service account to the Owners group (or equivalent) of each site.
📘 Overview
Compliance Tracker 365 includes a Power Automate Management Solution that keeps User Profiles up to date as people change roles.
- Profiles are automatically checked against group membership, job titles, departments, and offices.
- Disabled accounts are removed from profile terms.
- Enhanced security can restrict who can view and read reports.
- Each site must be enabled from Management > Flow tab to be processed by the solution.
📦 Prerequisites
- Download the latest version:
CT365ManagementSolution_7_2_0_0_managed.zip. - Use a service account with a basic Microsoft 365 subscription which includes Outlook and Teams.
- This ensures password changes or account deactivations don’t interrupt the process.
- The service account must:
- Have Owner group membership for Enhanced Security on target site collections (Edit permissions if Enhanced Security not required).
- Have a mailbox and Teams enabled.
🚀 Deployment Steps
- Log in to Power Automate (or flow.microsoft.com).
- Navigate to Solutions (left navigation bar).
- If prompted, click Create a database and follow the setup steps. Refresh the page once complete.
- Select Import solution at the top of the page.
- Browse and select the downloaded zip file (
CT365ManagementSolution...). - Click Next twice.
- On the Connections page:
- For each required connection, click New connection.
- A new tab will open — click Create and sign in.
- Return to the original tab and click Refresh.
- For updates, click Review and adjust all connection if the accounts need to be changed.
- Once all connections are configured, click Import.
- Wait a few minutes until a green banner confirms completion.
🔄 Enable all Cloud Flows
If there’s a message that the solution imported successfully but with warnings, check that all Cloud Flows are enabled after the import.
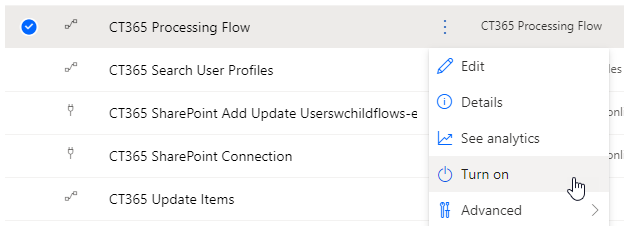
If any are turned off, they must be manually turned on.
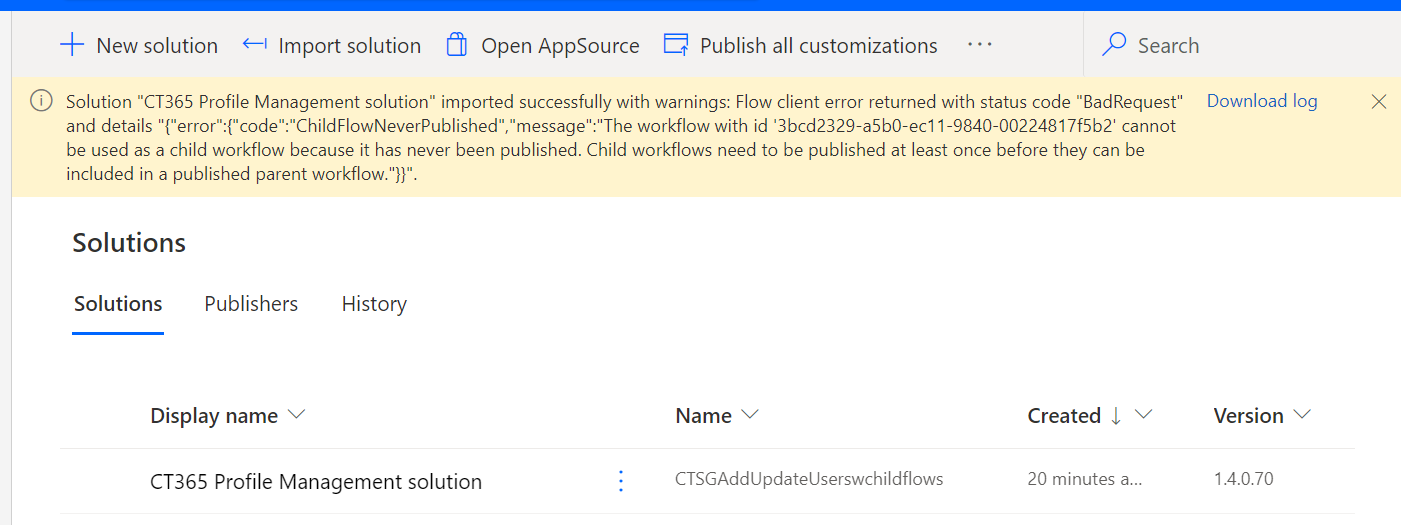
Open the CT365 Management Solution, select Cloud Flows and Turn on any that are off from top to bottom.
There are dependencies between some Flows. If a Flow fails to turn on, continue to the next then start enabling again top to bottom until they are all enabled.
🛠️ Troubleshooting
-
Ensure the service account is added to the Owners group (or equivalent) to update profiles and apply permissions.
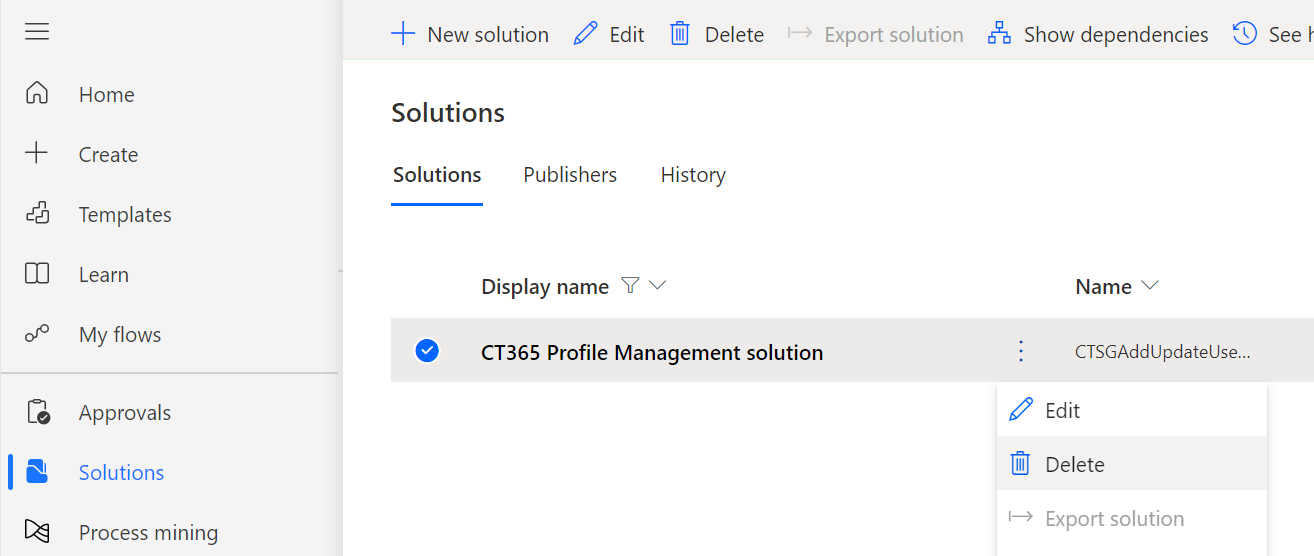
-
If issues occur during updates, try deleting and re‑importing the solution. Click Review and adjust all connection during the import.
✅ Once deployed and enabled, the CT365 Management Solution will automatically process sites, keeping profiles accurate and ensuring the right people are always associated with the correct terms.